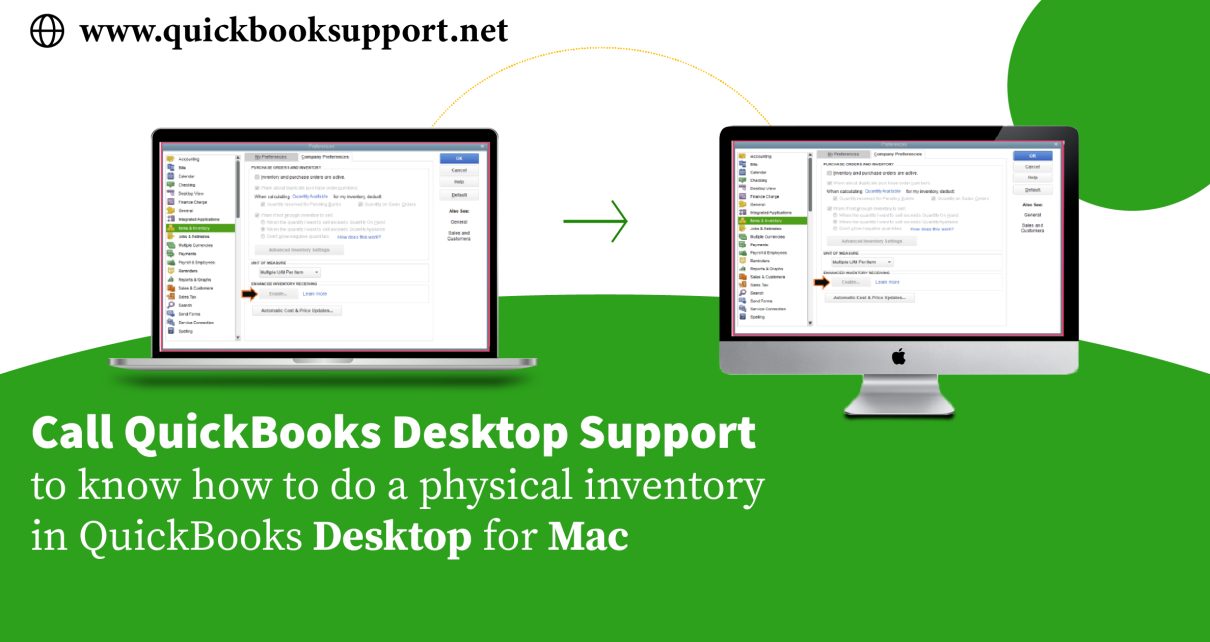
The process of verifying or connecting the on-hand item quantities in your inventory by doing a physical count is known as physical inventory. This is recommended after users enter their inventory for the very first time. Users can also use QuickBooks to create a worksheet for taking a physical count of your inventory stock with the help of QuickBooks Desktop Support Number.
How to perform a physical inventory
As we know that performing a physical inventory is essential in determining whether you later need to do an adjustment or not.
⦁ First of all, navigate to Reports, then Inventory and then click & select Physical Inventory Worksheet.
⦁ Next, click & select customize to see the Format tab (Optional).
⦁ Users can change the width of the columns and adjust the appearance of the worksheet (Optional).
⦁ Now, they need to press Command P on the keyboard.
⦁ Users can fill in the quantities for each item in the Physical Count column of the worksheet.
How to adjust your inventory quantity or value
User will find that the QuickBooks automatically adjusts their inventory quantities after every purchase and sale, but they may need to adjust them their self to account for things like loss or shortages. Here’s how.
⦁ First, navigate to Vendors, then Inventory Activities then click & select Adjust Quantity/Value on Hand.
⦁ Next, type the name of the expense account where users can track inventory loss and shortages in the Adjustment Account field. In case, if they need to assign the expense to more than one account, type a separate adjustment for each account. In order to type additional adjustments, select Next.
⦁ Users may type the new quantity of each inventory item. They can also type the new quantity by entering the difference in the Qty Difference column. On order to enter a difference that reduces the quantity, type a minus sign before the number (for example, -25).
⦁ (Optional) In case, if they need to, edit the value of the inventory after adjusting the quantity. QuickBooks will recalculate the value based on average cost. When you edit a value, you change the average cost of the items in stock. To edit the value, select the Value Adjustment checkbox. In the New Value column, enter the value for each inventory item whose value you want to change.
Quantity on hand
Quantity on hand is the number of items you have in stock. QuickBooks automatically keeps track of this number for all the invoice items on your Item list.
Adjustment Account: The name of the account where you track adjustments to inventory. For shortages and losses, the account is an expense account. For inventory you didn’t know you had, use an income account. Enter the name of an account to record the adjustment.
Class: (Optional) The class you want to assign to the adjustment transaction. This field appears only if you selected the “Use class tracking” preference in the Transaction Preferences window.
Current Qty: Users can’t type information in current quantity on hand for each inventory item.
Current Value: User can’t type information in this column. This column appears only when you select the “Value adjustment” checkbox.
Customer: Job: Users will use this field once they sell an inventory item to a customer, but don’t include the item on the invoice. For example, you might have entered a single line item to cover the cost of the entire job without listing separate line items for each inventory part you sold. By entering an adjustment and assigning it to the customer (or job), QuickBooks is made aware of the change to your inventory, and the inventory item appears as a job-related cost in job profitability reports.
Date: If users want to change the date of the adjustment transaction, then no need to worry as QuickBooks automatically puts today’s date into this field.
Description: If users want to fill sales description for each inventory item. Then they can’t type information in this column.
Item: Users will get to know that the they cannot type information for each inventory item.
New Qty: Once you type a number, QuickBooks automatically displays the quantity difference in the Qty Difference column. User can type the quantity difference instead of the total quantity. See “Qty Difference” below.
New Value: If you are entering a new value changes the average cost of the items in stock. This column appears only when you select the “Value Adjustment” checkbox.
Qty Difference: In order to enter a difference that reduces the quantity, then you have to be sure to type a minus sign before the number. users can also type the total quantity instead of the quantity difference. See “New Qty” above.
Total Value of Adjustment: In order to calculate the value, QuickBooks multiplies the average cost of the item by the quantity difference.
Value Adjustment: If users want to change the value of the inventory after they ’ve adjusted the quantity, then they need to go for it.
Conclusion:
We really hope that the above given information will be a help for users to know how to do a physical inventory in QuickBooks Desktop for Mac with the help of QuickBooks Desktop Support Number. In case, if you need to get in touch with our QuickBooks Expert then you need to visit our website www.quickbooksupport.net or users can also draft a mail to us at support@quickbooksupport.net.