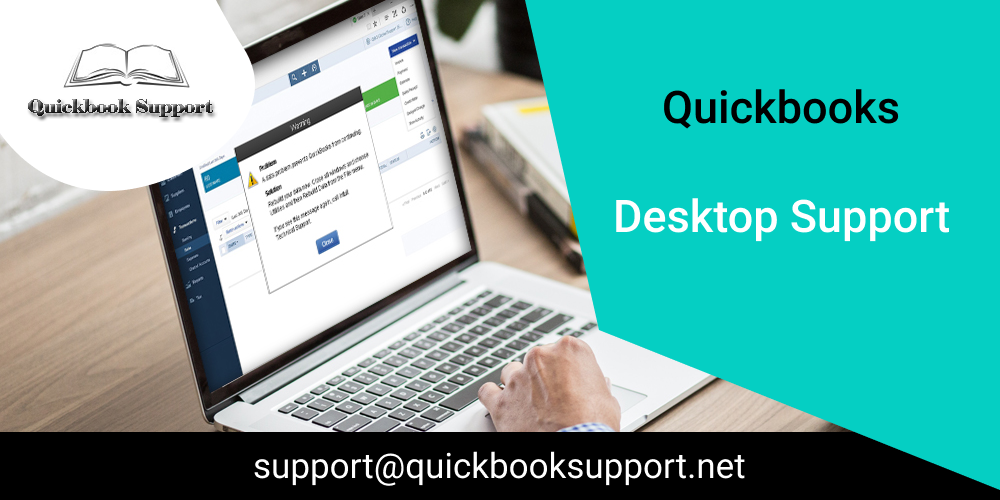
If you’re a frequent QuickBooks user, you’re probably familiar with the term “QuickBooks com error.” Users may notice a QuickBooks Crash Com Error when sending emails, invoices, pay stubs, transactions, or reports. Though there are various benefits of using QuickBooks, but the software is still not free from error, which keeps disturbing the normal function while working in QuickBooks.
This problem can also affect QuickBooks customers who use MS Excel, Office tools, or Web connectors. In this article, we’ll go over all of the options for resolving the QuickBooks com problem that will help you. If you have any questions, please contact our QuickBooks support staff, and one of our professionals will assist you in resolving the problem.
How Do I Fix a Crash Com Error in QuickBooks?
When working with QuickBooks, users frequently see the Crash: Com problem. Definitely check each of these ideas one at a time to see if they work for you. If the problem persists after you’ve tried one option, try the next.
Solution 1: Check to see if Outlook is up to date.
- The first and most important step in resolving the QuickBooks com problem is to ensure that Outlook is up to date. Below, we’ve outlined the specific steps you’ll need to do.
- To begin, open Outlook and select File. After that, select Office Account and then Update Options.
- Choose the Update Now option afterwards.
- Check to see whether this fixed the Com error for you. If this isn’t the case, make sure to try the next solution.
Solution 2: In Microsoft Outlook, create a new email account.
- You can also solve this problem by adding an email account to Microsoft Outlook. Here’s how to go about it.
- Go to File in Microsoft Outlook. To begin, select the “Add Account” option.
- Furthermore, after entering your selected email address, click Connect.
- Wait a few moments for Outlook to discover the proper server settings, then click Connect.
- After that, enter the password for the email address and click OK.
- Finally, click Ok, once again to finish the installation.
Solution 3: Make Outlook your default mail client.
Setting Outlook as the default mail app, according to users, was all it took to fix the problem. As a result, we advise you to do so as well. To do so, simply follow the instructions outlined below.
- To begin, open the Control Panel and select Default Programs. Choose the option to “Set your default programs.”
- On your screen, a list of programs will pop up.
- Make sure MS Outlook is selected from the list, and then click “Set this program as default.”
- Finally click the OK button.
Solution 4: Make a new Outlook email profile
If the options listed above do not cure the problem, you should make a new Outlook email profile.
To do so, follow the procedure outlined below.
- To begin, dismiss Microsoft Outlook and navigate to the Control Panel in that choose the Mail option.
- When the Mail Setup Window displays, select “Show Profiles” and afterwards “OK.”
- Afterwards, follow the steps on your screen to add an email account to your profile.
- Choose the profile you created recently from the drop-down menu under the “Always use this profile” option. After that, click Apply and then OK.
- Don’t worry, though; this method won’t delete your existing Outlook profile.
Solution 5: In Compatibility mode, run QuickBooks.
To quickly resolve this Quickbooks crash com problem, try running it in compatibility mode. Follow the steps outlined below to do so.
- Choose Properties from the right-click menu on the QuickBooks icon.
- Select the “Run this software in compatibility mode for” option from the Compatibility menu. From the drop-down option, select Windows 7.
- Select the option to “Run this program as an administrator” and afterwards click Apply. Finally, press OK.
Solution 6: Change the Mail Preferences
- If the problem persists, try toggling the mail settings. To do so, simply follow the instructions outlined below.
- First and foremost, Navigate to the Control Panel and then to the Mail. After that, select Microsoft Outlook from the drop-down menu.
- Select Show Profile from the Mail setup box.
- Select the “Prompt for a File to Use” option if “Always Use This Profile” is chosen, and then click Apply.
- Return it to “Always use this profile” and then hit “Apply.” Now press the OK button.
Final Thoughts:
Hopefully, the methods mentioned above will help you; nevertheless, if you have any problems adopting them, feel free to contact our professionals by dialing our QuickBooks Support Number. Any QuickBooks related issue will be swiftly diagnosed and resolved by experts. Please contact us by sending us a mail at support@quickbooksupport.net if you have any questions. You can also go to www.quickbooksupport.net , a website dedicated to helping QuickBooks users with their issues.

Comments are closed.