Call QuickBooks Support to know how to back up and restore your QuickBooks Online Advanced company.
Today we will discuss how to back up and restore your QuickBooks Online Advanced company with the help of QuickBooks Desktop Support Number.
Users can save a backup of their company so they always have a copy of their chart of accounts. Users can also undo unwanted changes to vendors, customers, settings, and other data if they need to. Here’s how.
Note: In case, if user want to use an existing company data to start a new one, then they can create a copy of it instead of a backup.
Users can find out what data they can and can’t back up
While user can back up data related to their chart of accounts, there is some data that they can’t back up. In case, if users want to know that which data they can take backup and for which they cant, then they need to get in touch with our QuickBooks Expert via visiting our website www.quickbooksupport.net.
Users need to learn what data they can’t restore
Once user restore a backup, then user can restore everything except:
Budgets – They need to export them as a CSV file.
Inventory – it doesn’t include the inventory history and inventory adjustments.
Tax rates using expense accounts – the Online Back-up and Restore app restores them in your liability accounts.
Turn on the Online Back-up and Restore app for your QuickBooks Online Advanced data
When you turn on the Online Back-up and Restore app, QuickBooks will automatically back up your data. Once it’s complete, it’ll track any changes made to your company data. Then you can restore a backup at any point in time.
- First, navigate to Settings ⚙.
- Next, click & select Back up company.
Note: You might need to sign in with Intuit, then click & select Authorize to proceed.
Turn off automatic backup :
In case, if no longer need to backup your company, here’s how to turn it off.
- First, navigate to Settings ⚙.
- Next, click & select Back up company.
- Note: You might need to sign in with Intuit, then select Authorize to proceed.
- Users can find the company with the automatic backup you want to turn off.
- Click & select Disable backup from the Action ▼ dropdown menu.
Users need to manually create a one-time backup
It can be a chance that user can be in the middle of an important project and want to save everything. No problem. they can do a manual backup anytime. Here’s how.
- First, navigate to Settings ⚙.
- Next, click & select Back up company.
- Note: User might need to log in with Intuit, then click & select Authorize to proceed.
- Click & select Add Company.
- Click & select the company you want to back up from the Search for a company ▼ dropdown menu.
- Select Next, then Connect.
Note: In case, if you have multiple companies to back up, repeat steps 2 to 4.
- Users can find the company that they want to back up.
- Click & select Run full backup from the Action ▼ dropdown menu.
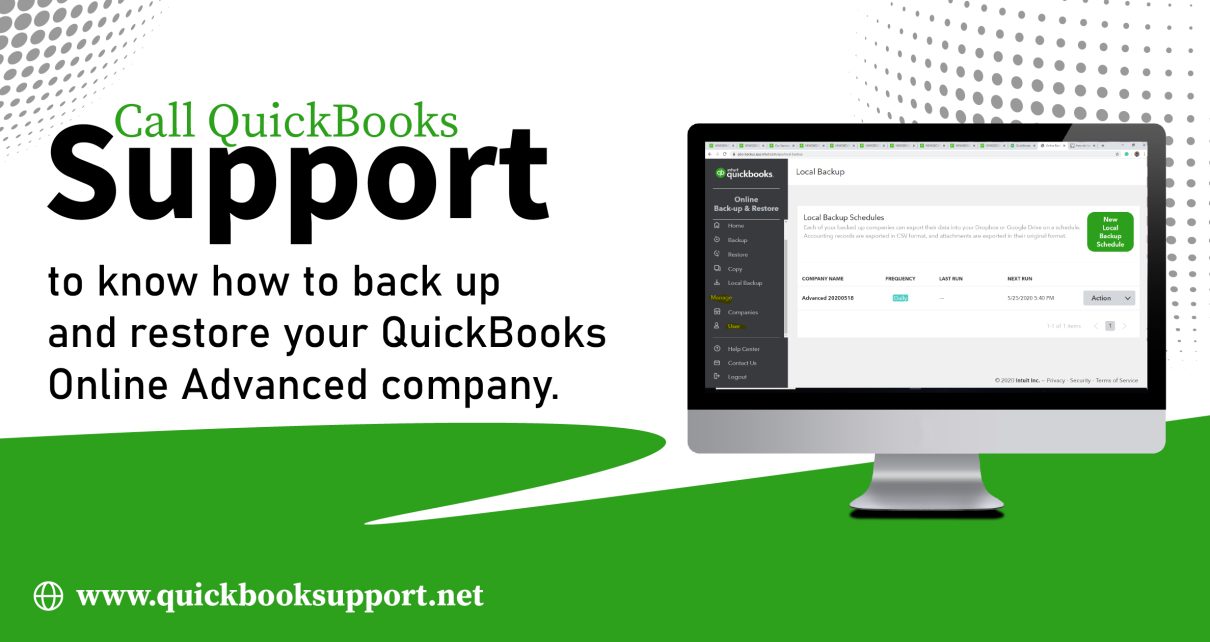
In order to save and schedule your backups to Dropbox or Google Drive.
Users can save and schedule their backups to Dropbox or Google Drive once they link their account. Here’s how to set everything up.
Step 1: User can aconnect their google drive or dropbox account
- First of all, navigate to Settings ⚙.
- Next, click & select Back up company.
- Note: You might need to sign in with Intuit, then select Authorize to proceed.
- Click & select the Local backup menu.
- Click & select Link a Service.
- Select where you want to save your back up. Select Link Google Drive or Link DropBox.
- Follow the steps to allow QuickBooks to create backups.
Step 2: User can set how frequent they want to backup
- First , navigate to the Local Backup menu.
- Next, click & select New Local Backup Schedule.
- User need to make sure you’re in the correct company.
- You may set the date and time on when to run the first scheduled backup.
- You may also set the frequency of the backups.
- You need to make sure that everything is correct, then click & select Create Local Backup Schedule.
Restore your data from a backup
Users may use the backup to restore their data from a specific date and time. It may take up to an hour to restore a backup, but it usually takes much less. The fewer data the company has, the faster it takes.
Important: Users should not do anything in their company while the Online Back-up and Restore app restores their data. Once it’s ready, user ‘ll see a checkmark in the status. That’s when it’s safe to go back and use their company.
- First of all, navigate to Settings ⚙.
- Next, click & select Back up company.
- Note: User might need to log in with Intuit, then click & select Authorize to proceed.
- Click & select the Restore menu, then select New Restore.
- Click & select the company user want to overwrite and restore accounting data from the Company ▼ dropdown menu.
- Click & select the time and date user want to restore from the Restore to ▼ dropdown menu.
- User need to make sure everything is correct, then click & select create Restore.
- After that, type your company’s name, then select Restore.
Conclusion:
The above given blog will be useful for users to know how to back up and restore your QuickBooks Online Advanced company with the help of QuickBooks Support USA However, if still anyone need more support then they can directly get in touch with us via visiting our website www.quickbooksupport.net or you can also draft a mail to us at support@quickbooksupport.net.